This is not a client case. This is a story of how a post on social media led to me creating a recipe app in the programming language Kotlin, for Android.
Early January 2020, a friend of mine lamented in a post on Facebook over the lack of recipe apps that allow you to create and adapt your own recipes, shopping lists and menus. She jokingly asked if someone could create such an app, and I answered yes – I had already nurtured the thought of learning how to create an app, as a self-development project. And so I did!
How do you structure a development project, if you want to do it right? I set out to simulate a real development project – I took on the role of developer, UX, QA and project lead. To be clear, I have a total of zero hours of competence in roles sich as QA and UX and am not pretending to be able to do their job – I did set out to understand these roles better, and to understand the development process.
Step 0 – actually learning how to code
Lets start with the disclaimer that I have done a bit of coding during my studies at the Royal Institute of Technology – I have dabbled in Python and SQL, and done a lot of calculations in MATLAB. My first brush up with coding was actually in High School, in an introductory programming course where we learned algorithm theory (the basis of learning how to solve computational problems). So, I was not starting from scratch – but I did need to learn a new programming language and a whole new way of thinking in terms of developing apps, as opposed to executable (.exe) computer programs.
I took an Udemy course in app creation using the programming language Kotlin, which also got me started on working with the development environment IntelliJ and the Android way of creating apps. 59 hours later I as done with the course, and was ready to roll.

Step 1 – brainstorming and understanding client needs
I took my friend’s post as a “needs list”. The three primary needs and functionalities she required where:
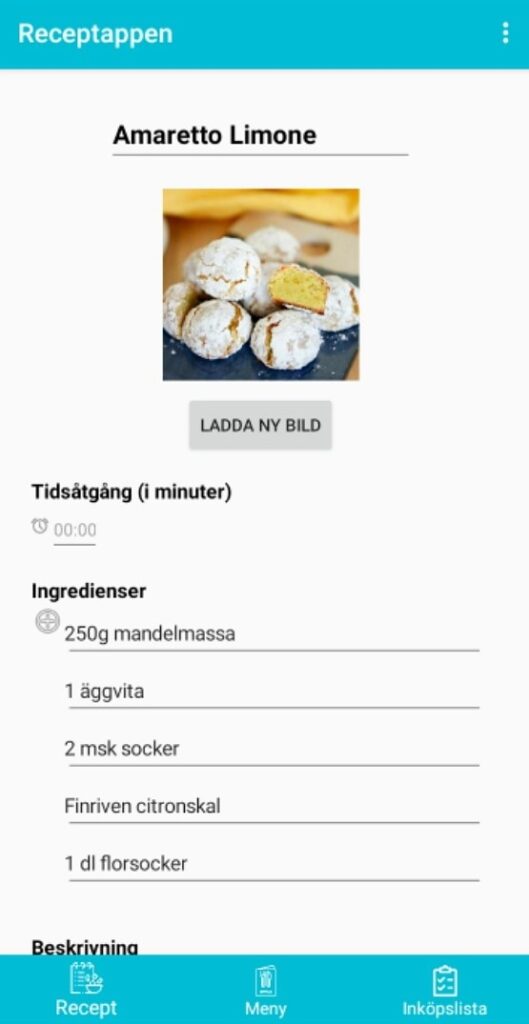
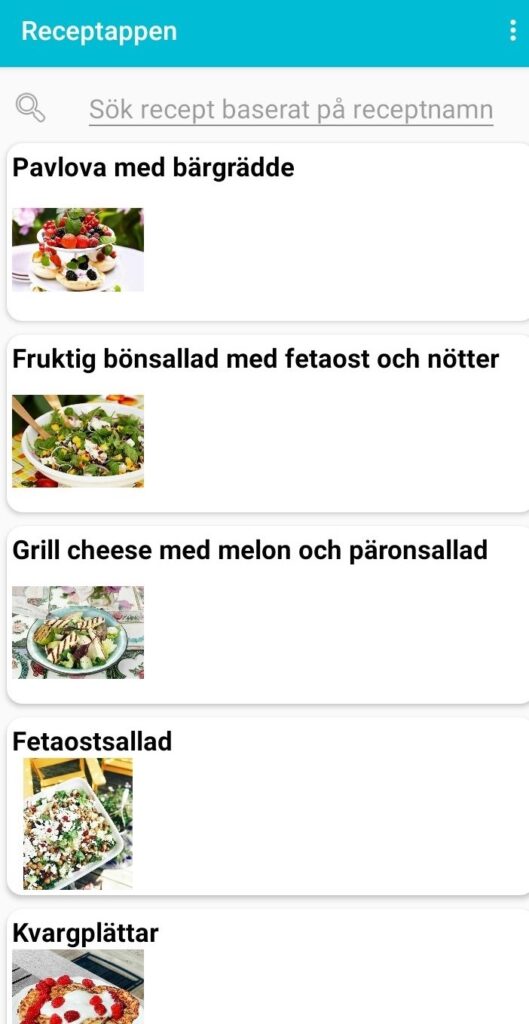
- A recipe function, for adding her own recipes to a list/library of recipes.
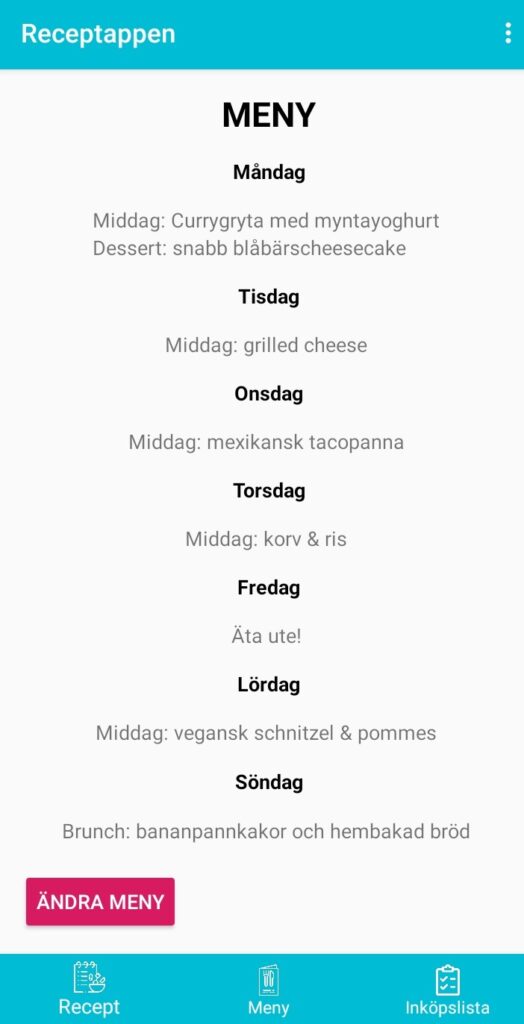
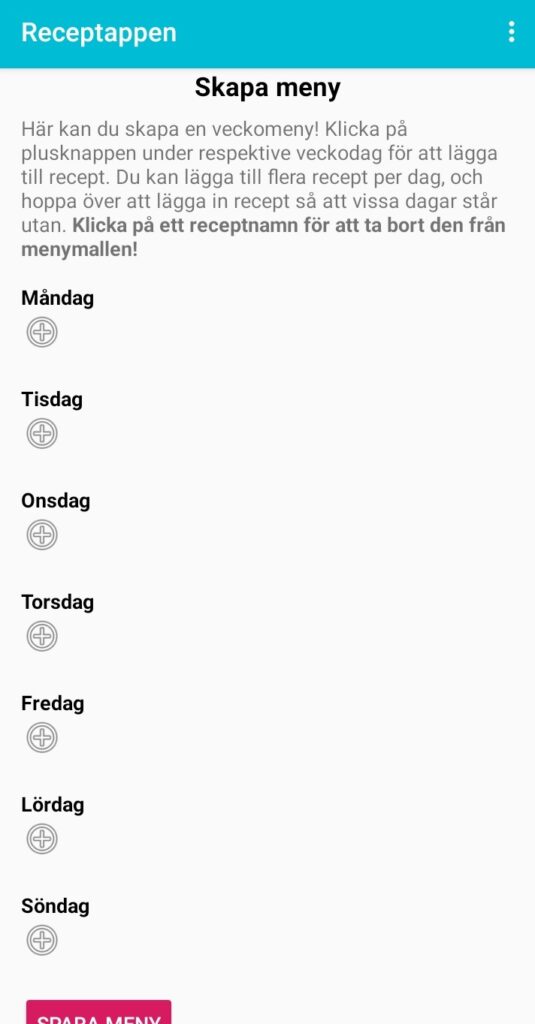
- A menu function, for creating weekly plans of recipes to prepare during the week.
- A shopping list function, that needed to be tied to the recipes for efficiency.
I translated the three main needs to a story board and structure map. The story board was basically me drawing images (this was prior to me learning about the design and testing tool Figma) showing the usability (UX) part of the app. How is the user to navigate between the menu, the recipe list and the shopping list? How are the recipes and menu to be updated, changed or deleted? After some revisions, I settled for the following design (the initial doodles were not as pretty as the finished work seen below, I can assure you):
Step 2 – translating the story board and structure map to code
The structure map consisted of functions, classes, libraries and database to use. An important addition to the functions and class in the list was the Room library, an SQL based database that is stored locally in the app. To save recipe, menu and shopping list data I needed a database that did not require login and which was not cloud based (something that would have required me to think hard on the subject of GDPR and security and well … for a small scale hobby project, I wasn’t going there).
I created the app prior to delving into the complex world of frameworks such as MVVM – we will skip that part of good development practices. An important process I did follow however was that of using version control, testing and debugging. I used Github for version control and to crate separate branches of the code, to test new functionalities and to be able to go back to previous versions in case I broke my code (which happened. A few times). Debugging and testing were done in the development environment, which included a simulator and the possibility to test the app in your own mobile using the Developer setting in your phone.
I made sure to test several times to have a functional version available prior to adding new functions. I created the recipe structure first, then menu, then shopping list and later added the database.
Step 3 – launching the app on Play Store
It is a fairly easy process of launching your app on the Play Store, but it was not as I had imagined it – their is a layer of checking security from Google’s side, to mitigate harmful apps being added (which is good).
I created a developer account via the Google Play Console and paid my developer fee, added app information and voila. The app is now out there, for those interested to use it. I learned that due to the vast amount of apps available (ca 2.7 million as of the second quarter of 2020), the probability of a user finding your app when searching for a certain key word is very small. To find my app, you need either to use the direct link, search for it using the full app name, or for the app to become popular enough to work its away up in terms of ranks in the Play search engine.
Well, popular or not, my very first app is now available in the cloud. And it all started with a Facebook post and a curious mind.
You can check out and download the app via this link.